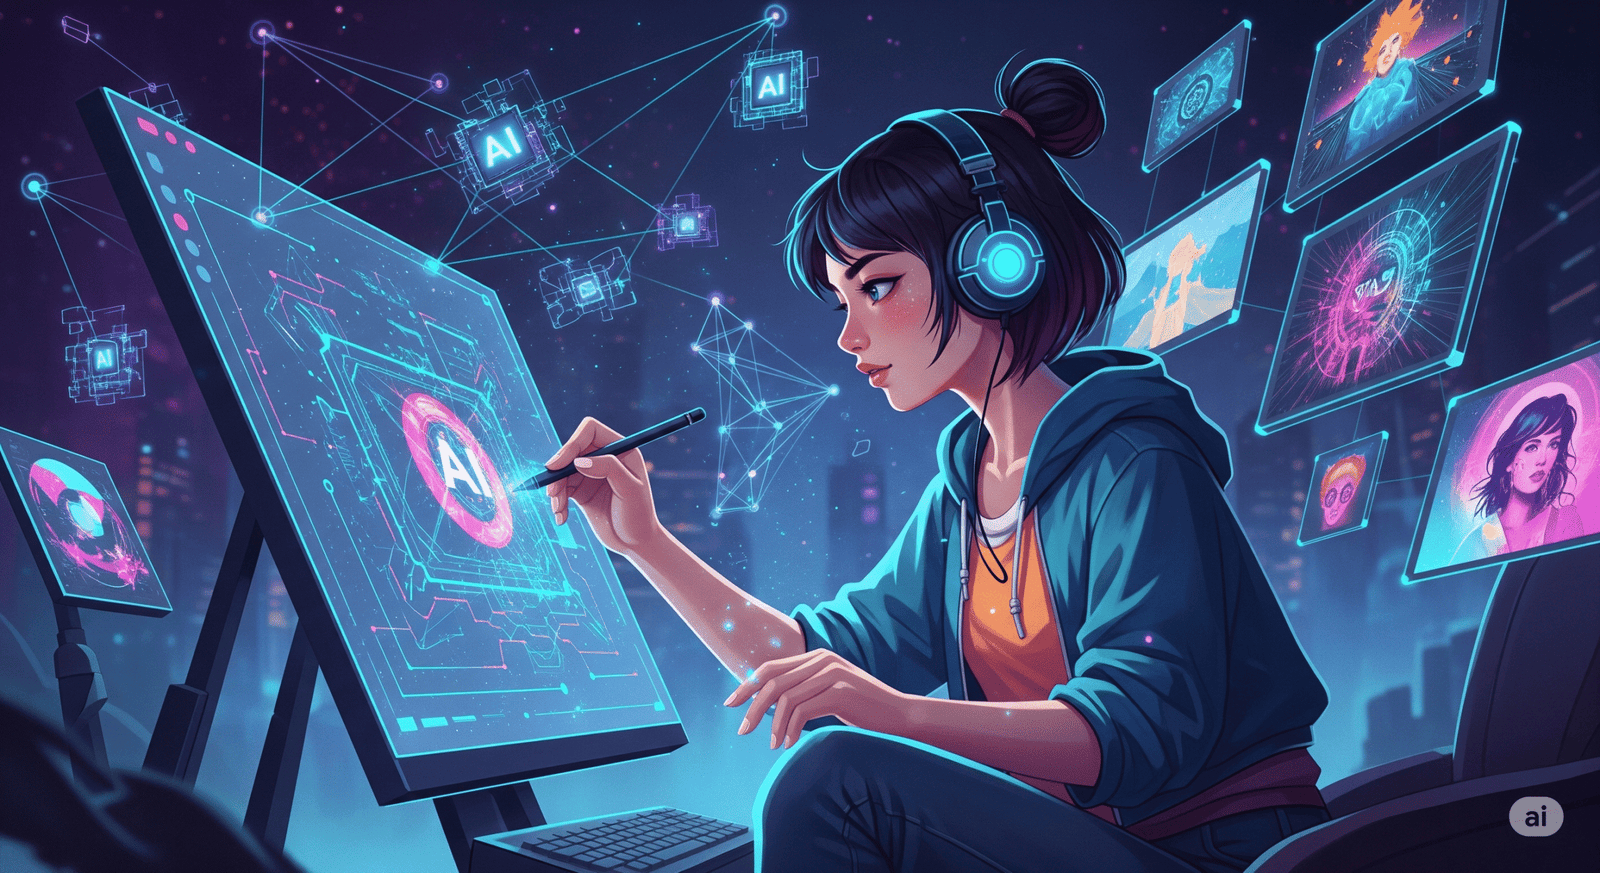
Remember when creating a custom image meant hours of design work, costly stock photo subscriptions, or hiring a professional artist? Well, welcome to the future! Artificial Intelligence (AI) has revolutionized the creative landscape, making it possible for anyone to generate stunning, unique images in mere seconds – often with just a few clicks and some well-chosen words.
This comprehensive guide walks through the step-by-step process of using AI image generators, structuring effective text prompts, choosing the right platform, and navigating commercial licensing rules—no technical or design degree required.

What is AI Image Generation?
At its core, AI image generation relies on deep learning architectures—primarily diffusion models and flow-matching neural networks—trained on vast datasets containing billions of image-text pairs.
When you input a written prompt, the AI does not copy and paste existing stock images from a database. Instead, it starts with a canvas of digital background noise and iteratively denoises and constructs a completely original image that matches your words, style cues, and composition instructions.
The Magic Behind the Clicks: Text-to-Image AI
The most common and user-friendly form of AI image generation is “text-to-image.” You provide a written description (your “prompt”), and the AI synthesizes an image to match. Tools like Midjourney, DALL-E 3 (integrated into various platforms like ChatGPT Plus), Stable Diffusion, and others operate on this principle, each with its unique strengths and artistic style.
Step-by-Step: Generating Your First AI Image
The exact interface might vary slightly between platforms, but the core process remains largely the same:
Choosing the best tool depends on your desired style, budget, and intended commercial use.
| Midjourney | Hyper-stylized, artistic, and cinematic imagery | Unmatched aesthetic coherence and lighting quality | Commercial rights on paid tiers | Paid subscription ($10–$120/mo) |
| DALL-E 3 / ChatGPT | Conversational editing and precise text rendering | Integrates into ChatGPT; accurately renders embedded text | Commercial rights for created outputs | Included in ChatGPT Plus / API pay-per-use |
| Adobe Firefly | Enterprise marketing and graphic design integration | Embedded natively in Photoshop, Illustrator, and Express | Trained exclusively on licensed Adobe Stock (IP indemnified) | Free tier credits; Creative Cloud plans |
| Stable Diffusion 3.5 / FLUX | Local installation, custom fine-tuning, and full open control | Open-weight models; support for LoRAs and ControlNet | Depends on custom model license | Free self-hosted; paid cloud APIs |
| Canva / Pixlr AI | Quick social graphics, ads, and web content editing | Generation built directly into full image editing suites | Standard platform terms | Free tiers available; monthly subscriptions |
.
Step 2: Understand the Interface (It’s Simpler Than You Think)
Most generator interfaces contain four core areas:
- Prompt Box: The text input area where you write your description.
- Style & Parameter Controls: Drops-down menus or sliders for selecting aspect ratios (e.g., 16:9, 1:1, 9:16), visual styles (e.g., photorealistic, watercolor, vector), or model engines.
- Negative Prompt Field: An optional box specifying elements to exclude from the visual (e.g., “blur, text, low resolution”).
- Generation Workspace: The canvas grid displaying your generated output variations.
Step 3: Use the 5-Part Prompt Engineering Framework
The quality of your generated visual correlates directly with the structure of your prompt. Vague prompts yield generic results. Use this 5-part framework to build precise instructions:
- Subject: The primary focal point (person, object, animal, architecture).
- Medium & Style: The visual form (photograph, digital illustration, oil painting, 3D render, isometric vector).
- Setting & Environment: The background, location, weather, or scene context.
- Lighting & Color Palette: The mood setting (golden hour, neon glow, dramatic studio lighting, muted pastels).
- Composition & Camera Details: The shot type (close-up, wide shot, bird’s-eye view, 85mm lens, shallow depth of field).
Prompt Transformation Example
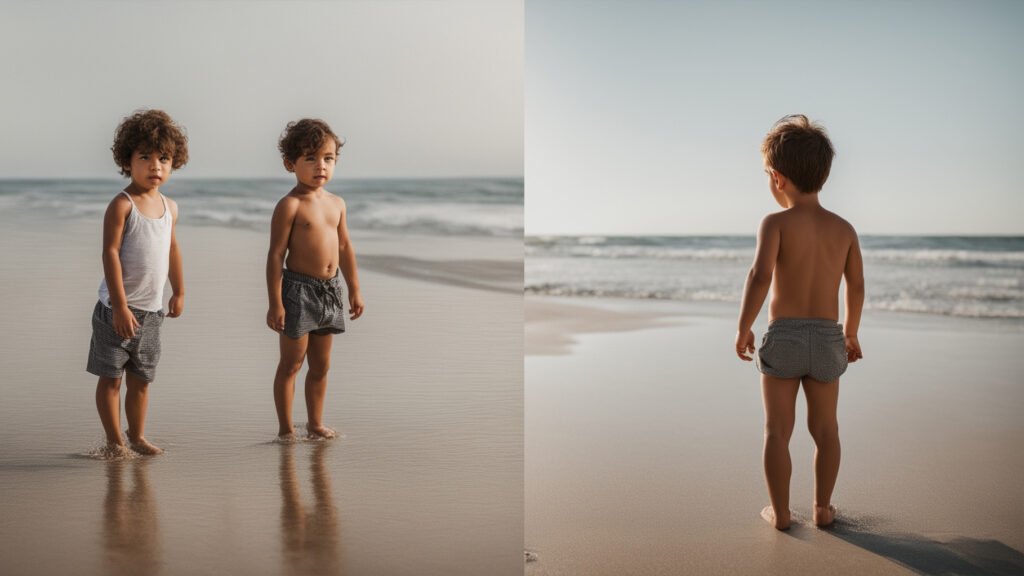
a boy at the beach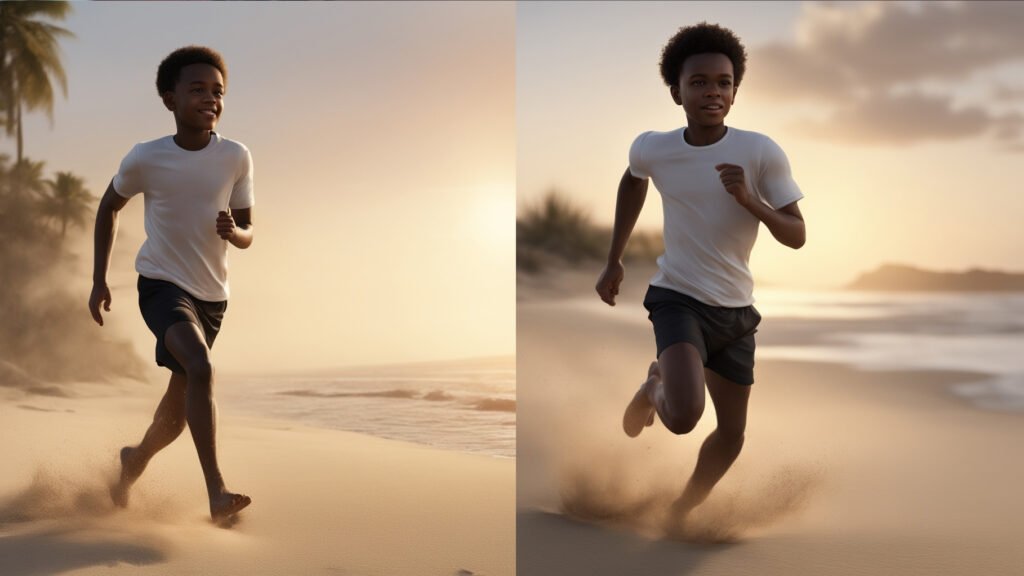
a black boy wearing a white linen shirt and black shorts, running along the sandy shore at a tropical beach, sunset golden hour lighting, cinematic film photography, 85mm lens, shallow depth of field, hyper-realistic textureStep 4: Configure Aspect Ratios and Model Parameters
Match your aspect ratio settings to your final distribution channel before hitting generate:
- 16:9 (Landscape): Ideal for blog headers, YouTube thumbnails, and website banners.
- 1:1 (Square): Best for Instagram feed posts and profile avatars.
- 9:16 (Vertical): Optimized for mobile stories, TikTok, and Instagram Reels.
Step 5: Execute Generation and Analyze Output
Click Generate. Within 5 to 15 seconds, the AI engine will produce 2 to 4 variation candidates. Evaluate the results for:
Prompt Adherence: Confirm all key subjects and background instructions were rendered correctly.
Anatomical and Geometric Accuracy: Inspect hands, facial symmetry, reflections, and repeated patterns.
Step 6: Refine and Iterate
Rarely is the first generation the final product. Use these refinement techniques:
- In-painting / Generative Fill: Highlight a specific area of the image (such as an unwanted background object) and prompt the AI to replace only that region.
- Variations: Select the strongest image variation and generate subtle iterations based on its aesthetic structure.
- Upscaling: Increase the image resolution (from 1024×1024 pixels to 4K or higher) for print or desktop viewing.
Step 7: Export and Verify File Specs
Download the asset in PNG format for lossless visual quality or JPG for compressed web performance. Ensure file metadata aligns with your web design specifications.
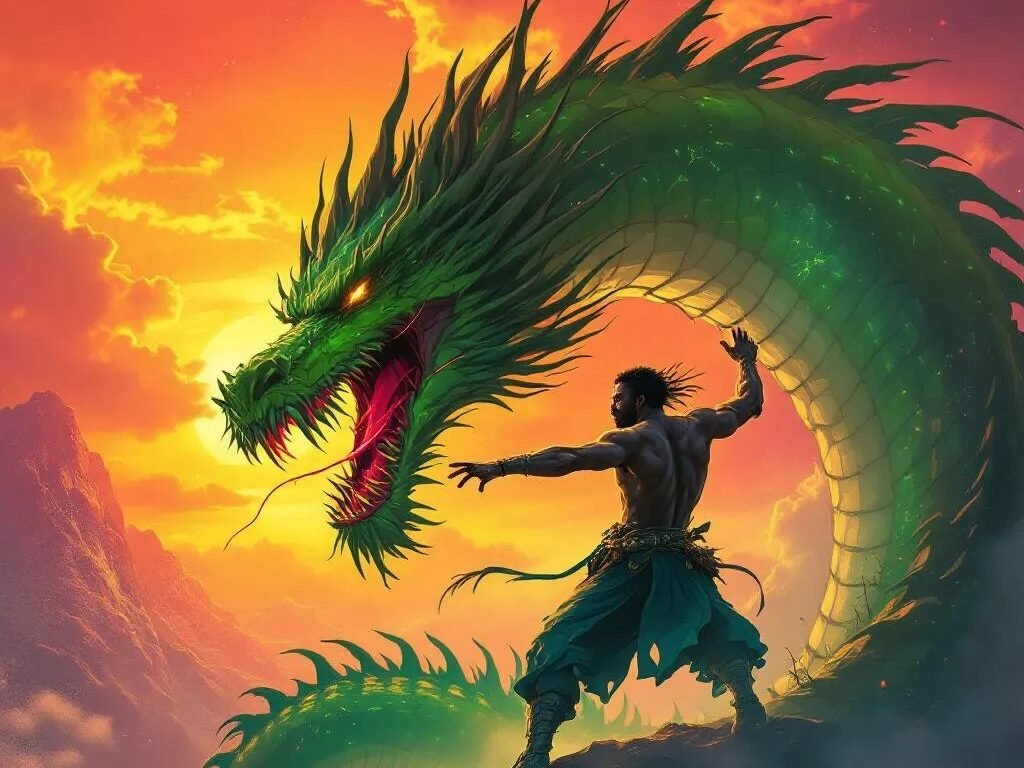
Best Practices for Prompt Tuning
- Lead with the Critical Subject: Place the main focal point at the beginning of your text prompt, as diffusion models weight early words more heavily.
- Avoid Double Negatives: Instead of writing “a street with no cars,” write “an empty, quiet cobblestone street.” Use the dedicated Negative Prompt box for explicit exclusions.
- Specify Art Movements or Medium Specs: Reference concrete artistic terminology—such as chiaroscuro lighting, minimalist vector, volumetric fog, or macro lens—to guide the model’s visual output without needing vague buzzwords like “hyper-realistic.”
Copyright, Commercial Licensing, and Ethical Rules
Before using AI-generated images in commercial projects, note these essential legal frameworks:
- Copyright Ownership: Under current US Copyright Office guidelines, purely machine-generated visual outputs lacking significant human creative modification cannot be copyrighted. You hold usage rights, but you cannot prevent competitors from copying an unmodified AI image.
- Platform Commercial Terms: Review platform terms carefully. Midjourney requires a paid subscription for commercial image rights. Adobe Firefly offers enterprise indemnification protection because its models are trained on cleared Adobe Stock assets.
- Ethical Asset Generation: Avoid generating images that depict public figures in misleading contexts, imitate living individual artists’ distinct styles without permission, or violate platform safety filters.
Integrating AI Visuals into Your Content Strategy
Text-to-image tools enable digital publishers, content creators, and marketers to produce tailored visual content efficiently:
- Blog Posts & Articles: Generate custom hero banners that match specific article topics rather than relying on generic stock photography.
- Social Media Assets: Rapidly prototype branded graphics, background textures, and campaign mood boards.
- YouTube & Video Production: Create thumbnail backgrounds, storyboard scenes, and high-quality channel artwork—an essential capability when building a faceless media empire driven by automated video workflows.
While the technology is still evolving, its accessibility means that unleashing your visual imagination is now just a few clicks away. Dive in, experiment, and prepare to be amazed by what you can create! You can get even more out of AI tools. Check out this article on the top AI video editing tools.
Related Posts
InVideo AI: The Ultimate AI Video Maker? Our Review
Placeit Review: Pros, Cons, and Everything You Need to Know
Motion Array vs. Envato Elements: A Head-to-Head Comparison
Envato ImageGen vs the AI Giants: Which is Best?
The Best Caption Plugins for Premiere Pro 2026
Envato’s ImageGen: The New AI Art Tool You Need to Try?
The 4 Best Asset Types from Envato Elements
No responses yet