Starting a YouTube channel is one of the most exciting decisions you can make. It is not just about uploading videos; it is about building a community, sharing your voice, and potentially earning a living.
You might think you are too late. You might see big channels with millions of subscribers and feel discouraged. But here is the truth: 2026 is actually the best time to start.
According to recent data, YouTube now has over 2.85 billion monthly active users. More importantly, the algorithm has changed. It no longer just protects the famous channels. Today, YouTube cares most about viewer satisfaction. If you make a great video, YouTube will show it to people, even if you have zero subscribers.
This guide will walk you through every single step. We will cover finding your idea, setting up your account, filming your first video, and getting views.

1. Finding Your Niche (What is Your Channel About?)
Before you ever pick up a camera, you need a plan. You cannot just make videos about “everything.” If you upload a cooking video on Monday, a gaming video on Wednesday, and a travel vlog on Friday, YouTube won’t know who to show your videos to.
You need a niche. A niche is a specific topic that you focus on.
Why You Need to Focus
Imagine you subscribe to a channel for baking tips. Suddenly, they post a video about fixing cars. You would probably unsubscribe, right? Viewers want to know what to expect.
- Consistency builds trust: When people know what you do, they are more likely to hit subscribe.
- Easier growth: The algorithm learns your audience faster.
- Better community: You attract people who love the specific thing you are talking about.
How to Pick Your Niche
To find your perfect topic, look for the “Sweet Spot.” This is where three things overlap:
- Passion: What do you love? You will be making dozens of videos, so you need to enjoy the topic.
- Skill: What are you good at? You don’t need to be an expert, but you should know more than the average beginner.
- Demand: Are other people looking for this? Search on YouTube to see if other channels are succeeding in this space.
Examples of specific niches:
- Instead of “Fitness,” try “Yoga for Beginners over 40.”
- Instead of “Gaming,” try “Minecraft Redstone Tutorials.”
- Instead of “Cooking,” try “Budget Meal Prepping for Students.”
2. Setting Up Your Channel the Right Way
Now that you have an idea, let’s build your home on the internet. You will need a Google account. Once you have that, you can create your channel.
Choosing a Channel Name
Your name is your brand. It should be easy to spell and easy to remember.
- Personal Brand: Use your real name (e.g., “Sarah Jones”). This is great if you want to be the face of the channel and cover different topics later.
- Descriptive Name: Use a name that says what you do (e.g., “Tech Reviews Daily”). This is good for searchability.
The Visuals (Branding)
You want your channel to look professional.
- Profile Picture: If it is a personal channel, use a clear photo of your face smiling. If it is a brand, use a simple logo.
- Channel Banner: This is the big image at the top of your page. It is like a billboard. It should say who you are and when you post. The ideal size is 2560 x 1440 pixels.
- Tip: Keep the text in the middle safe zone so it doesn’t get cut off on mobile phones.
The “About” Section
Do not leave this blank! This is where you tell viewers—and YouTube—what your channel is about. Use keywords related to your niche.
Example:
“Welcome to my channel! I post weekly videos about training your puppy at home. Subscribe for easy tips on dog obedience, puppy tricks, and crate training.”

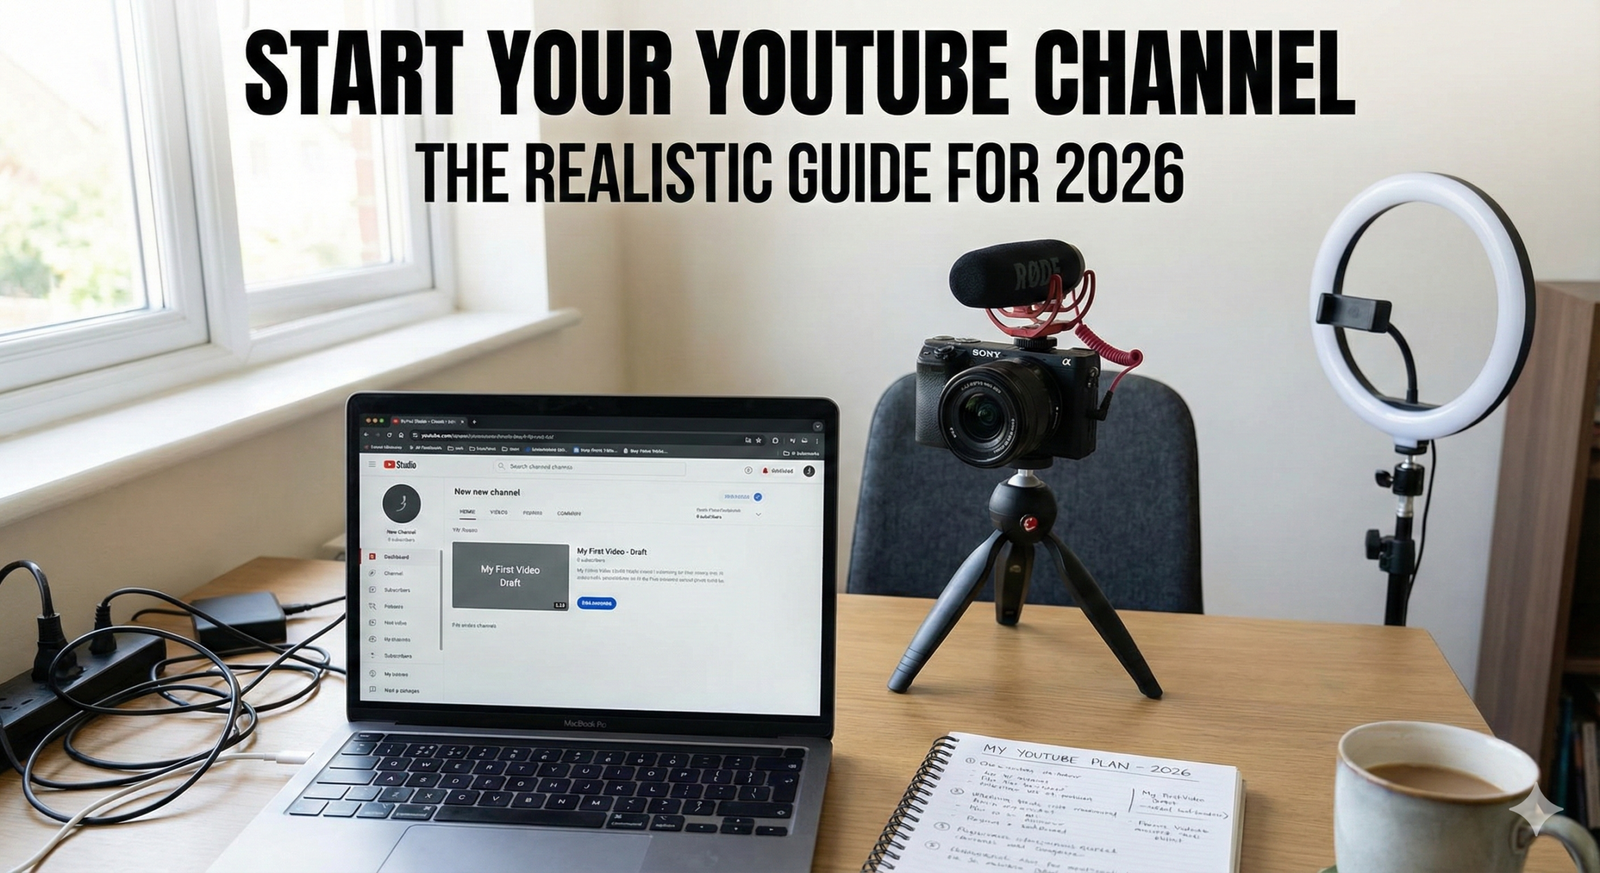
3. Essential Gear: Start with What You Have
A huge myth is that you need a $2,000 camera to start. You do not. Many big YouTubers started with a webcam or an old phone. The content matters more than the camera.
However, there is one rule you must follow: Audio is more important than video. People will watch a grainy video if the sound is clear. But they will click away instantly if the audio is scratchy or quiet.
The Beginner Starter Kit
- Camera: Your smartphone. Most phones from the last 3-4 years shoot incredible 4K video. Clean the lens before you shoot!
- Audio: If you can spend money, buy a cheap lavalier (clip-on) microphone. You can find good ones for under $20. If you have $0, use your wired headphones with the built-in mic, or sit in a quiet room full of furniture (couches and rugs absorb echo).
- Lighting: You do not need expensive studio lights. The best light source is the sun. Stand in front of a big window.
- Do: Face the window.
- Don’t: Put the window behind you (this makes you look like a dark shadow).
- Stabilization: Don’t hold your phone with your hand; it will be shaky. Prop it up on a stack of books or buy a cheap tripod.
For more deep dives on hardware, check out our guide on best cameras for beginners to see options for every budget.
4. Planning Your Content (The Secret to Success)
Turning on the camera without a plan is a mistake. You will ramble, get lost, and have to edit for hours. Every great video starts with a structure.
The 3-Part Script Structure
- The Hook (0:00 – 0:30): Grab their attention immediately. Tell them exactly what they will get from the video.
- Bad: “Hey guys, welcome back to the channel, today is Tuesday…”
- Good: “In this video, I’m going to show you how to bake the perfect chocolate cake in under 30 minutes.”
- The Value (The Meat): Deliver on your promise. Break your content into steps. If you are teaching something, use “Step 1, Step 2, Step 3.” This keeps people watching.
- The Outro/CTA: Summarize what they learned. Then, give a Call to Action (CTA). Tell them what to do next.
- Example: “If you liked this cake recipe, check out my video on how to make vanilla frosting right here.”
Batching Your Work
Filming takes energy. Setting up lights and getting “camera ready” takes time. Try batching. This means you write 3 scripts on Monday, and then film all 3 videos on Saturday. This saves you so much time and keeps you consistent.
5. Filming and Editing
Filming Tips
- Eye Contact: Look at the lens, not yourself on the screen. Looking at the screen makes it look like you are looking past the viewer. Looking at the lens creates a connection.
- Energy: The camera steals your energy. You need to speak about 20% more enthusiastically than you do in real life to sound “normal” on video.
- B-Roll: This is extra footage you show while you are talking. If you are talking about hiking, show a clip of your boots on the trail. This keeps the video visually interesting.
Editing for Beginners
Editing is where the magic happens. You cut out the “ums,” the awkward pauses, and the mistakes. You do not need expensive software.
- Free Options: DaVinci Resolve (PC/Mac), iMovie (Mac), or CapCut (Mobile/Desktop).
Simple Editing Workflow:
- A-Cut: Put all your main footage on the timeline. Cut out the silence and mistakes.
- B-Roll: Layer your extra footage on top to hide your cuts.
- Text/Graphics: Add text to emphasize key points (like “Step 1: Preheat Oven”).
- Music: Add background music. Make sure it is quiet (usually -20db or lower). Crucial: Only use copyright-free music. You can find free tracks in the YouTube Audio Library inside your Creator Studio.
If you get stuck on the technical side, read our tutorial on video editing basics to master the timeline quickly.

6. Uploading and SEO (Getting Discovered)
You made a video! Now, how do you get people to find it? This is where SEO (Search Engine Optimization) comes in. YouTube is the second biggest search engine in the world, right after Google. You need to help the robot understand your video.
The Thumbnail
This is the most important part. If nobody clicks your thumbnail, nobody watches your video.
- High Contrast: Use bright colors.
- Faces: Humans love faces. Show emotion (happy, surprised, serious).
- Less Text: Use 3 or 4 words max. Make the text huge.
- Title: “How to Run a Marathon for Beginners”
- Thumbnail Text: “Run Your First 5K!”
The Title
Your title needs to be “Clickable” but not “Clickbait.” Clickbait is when you lie. Clickable is when you make it sound interesting.
- Include Keywords: If your video is about “iPhone tips,” make sure those words are in the title.
- Create Curiosity:
- Boring: “My Morning Routine.”
- Better: “5 Habits That Changed My Mornings.”
The Description
Write a paragraph explaining the video. Include your main keywords naturally in the first two sentences.
- External Link Opportunity: This is also where you should link to your social media or recommended products.
For authoritative data on how YouTube’s search works, you can read the official YouTube Creators guide. They update this regularly with tips directly from the source.

7. Understanding Analytics
Once you upload, you will get data. Do not obsess over the numbers, but learn from them. There are two numbers that matter most:
- CTR (Click-Through Rate): This is the percentage of people who saw your thumbnail and clicked on it.
- Goal: Aim for 5% or higher. If it is low, try changing your thumbnail or title.
- AVD (Average View Duration): This is how long people watched.
- Goal: You want people to stay as long as possible. If everyone stops watching at the 2-minute mark, go watch your video at that timestamp. Did you get boring? Did you ramble? Learn for next time.
According to Exploding Topics, the creator economy is growing faster than ever, meaning there is more data available to help you succeed if you just pay attention to it.
8. Monetization: How to Make Money
You probably want to know when you get paid. To join the YouTube Partner Program (YPP) and put ads on your videos, you generally need:
- 1,000 Subscribers
- 4,000 Watch Hours (in the last 12 months) OR 10 Million Shorts Views (in the last 90 days).
It takes time to hit these numbers. Do not rush it. Focus on making good videos, and the money will follow.
However, ads are not the only way to earn.
- Affiliate Marketing: Review a product and put a link in the description. If someone buys it, you get a small commission.
- Sponsorships: Brands might pay you to talk about their product.
- Merch: Sell t-shirts or digital guides.
9. Dealing with Burnout and Staying Safe
Starting a channel is a marathon, not a sprint. Many creators quit after 3 months because they work too hard and don’t see instant results.
- Set a Realistic Schedule: If you can only make one video a month, that is fine! Just be consistent. One good video a month is better than 4 bad videos a week.
- Ignore the Trolls: As you grow, you might get mean comments. This is a part of the internet. Delete them, block them, and move on. Focus on the positive comments.
Conclusion
Starting a YouTube channel in 2026 is an amazing journey. It forces you to learn new skills, helps you meet new people, and gives you a voice.
Remember the golden rule: Focus on the viewer. If you make content that helps, entertains, or educates people, you will grow. Do not worry about being perfect. Your first video will be your worst video, and that is okay. Just hit record.
Ready to take your channel to the next level? We share exclusive tips, free thumbnail templates, and growth hacks every single week. Subscribe to the YT Torials newsletter today and let us help you hit your first 1,000 subscribers faster!
Popular Posts
Follow YT Torials:

No responses yet