Adding professional polish to your videos is easier than you think. Specifically, using transitions from Mixkit is a simple way to elevate your editing game. Once you learn the process and try it a few times, you will be a master at it.
First, you need to find a transition that fits your video’s style. When browsing the Mixkit library, you will notice there are two main file types available for download: Motion Graphics templates (.mogrt) and Premiere Pro project files (.prproj). Below, we will break down how to handle both.
Simply click on the download icon and your transition will start downloading. You will need a program to unzip files if you don’t already have one.
If that is the case, you can check out Winzip. Once you have extracted the files wherever you want them, go into Premiere Pro.
Open your project or start a new one. There are 2 different ways to import transitions, 1 for Mogrt files and 1 for project files.
Then there are 2 ways to get project files to work. With assets and without.

METHOD #1: Install Motion Graphics file (.mogrt)
After starting or opening a project, look for the effects tab in the menu at the top in the center. Selecting this will open up the effects panel on the right.
In the effects panel, open essential graphics. On the bottom right, you’ll see a icon to import motion graphics templates. From here all you need to do is find your file and select it to install it into premiere.
You’ll be able to find in this panel (essential graphics) from now on. You can also install your mogrt files by dragging it from a folder and dropping it into essential graphics.
Once you find your template, click and drag it into your project’s sequence. You can edit your template by selecting it in the sequence.
METHOD #2: Using a project file without assets (Overlay Style)
You can import a project file the same way you import other assets such as videos, music etc.
In your project panel, you can drag and drop the file or double click to find and import the file.
Import project will open up for you. You want to select the options you see above and click OK. You may be asked about a preview file that can’t be located.
If this is the case, you can use locate to find the other file that was downloaded with the project file in your computer.
When finished, a new folder will be in your project panel. Expand the folder to find a sequence that (probably) is named the imported transition.
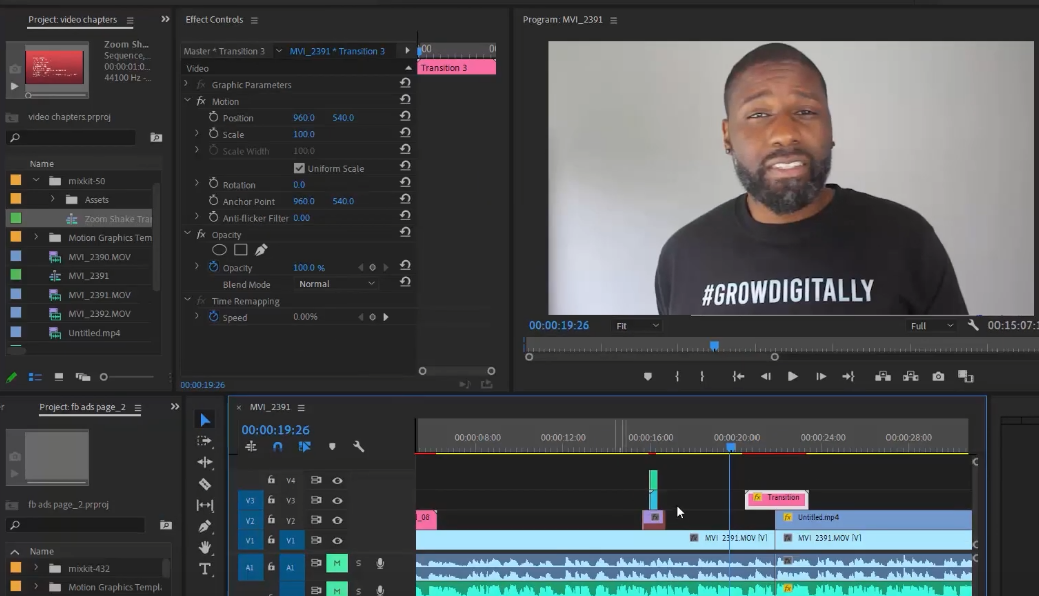
Drag and drop that transition into your project’s sequence.
The bottom clip is the preview file. You can choose to hide or delete this clip and you’ll be left with the transition!
It is a good idea to render the transition to make sure that it works smoothly.
METHOD #3: Using a project file with assets
This is the most advanced method, but it yields the most professional results. Specifically, this applies to transitions like “Zoom Throughs” or “Wipes” where your video footage needs to be inside the transition movement.
You will import the project file exactly the same way as Method 2. However, making it work requires a few extra steps involving “Nested Sequences.”
Step-by-Step Workflow:
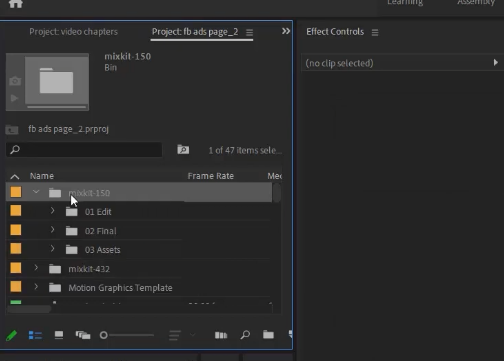
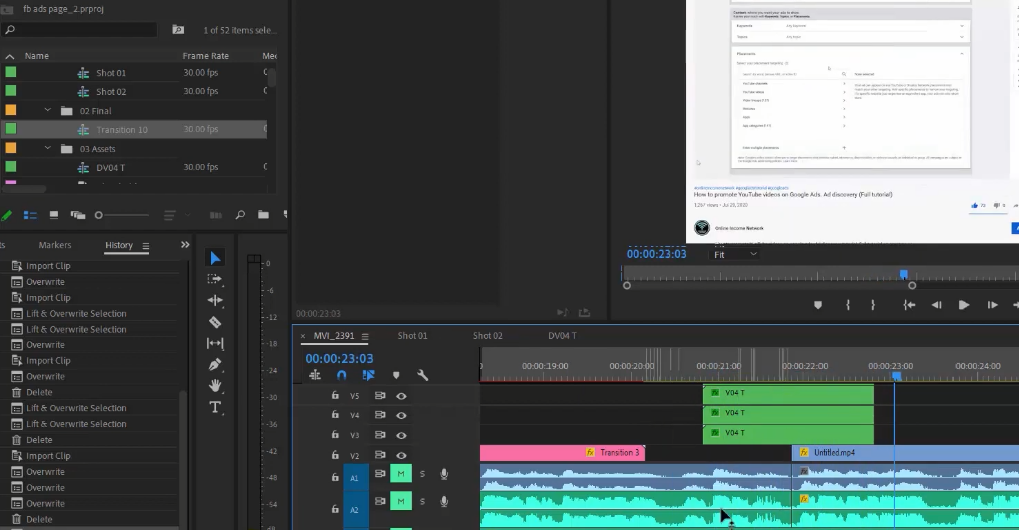
- Locate the Folders: Inside the imported bin, you will usually see folders labeled “01 Edit” (or “Placeholders”) and “02 Final.”
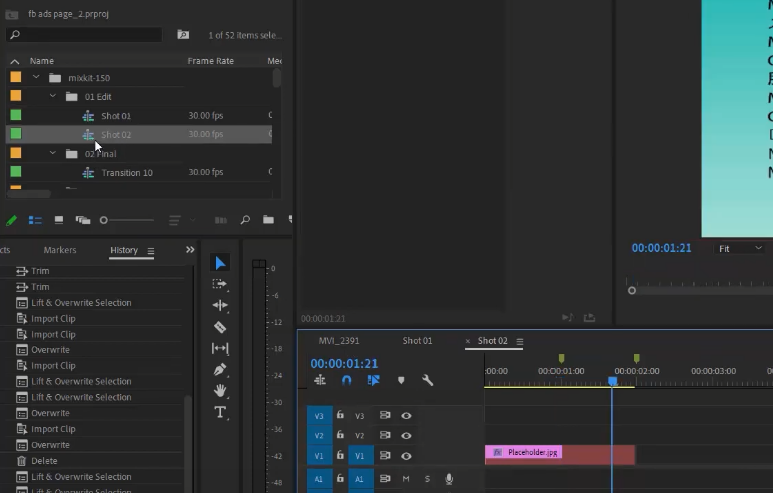
- Open the Placeholders: Double-click the sequence inside the “01 Edit” folder. Here, you will see sample footage.
- Swap the Footage: Delete the sample footage and drag your own video clips into this timeline. Make sure your clips extend to the green markers, which indicate where the transition animation starts and ends.
- The Final Step: Once your footage is inside the placeholder sequence, go back to the “02 Final” folder. Drag that sequence into your main timeline.
Because you updated the placeholder, the final sequence will now show your footage moving perfectly with the transition effect. Although it seems complex, this method allows for incredible creativity.
Pro Tip: Rendering for Smooth Playback
After adding transitions, you might notice a red line above your timeline. This means Premiere Pro is struggling to play the effect in real-time. To fix this, press the “Enter” key on your keyboard.
This triggers the “Render” process. Basically, Adobe creates a temporary video file of that section. Once the line turns green, your playback will be buttery smooth. For more technical details on how rendering works, you can read this guide from Adobe Support.
Conclusion
Using Mixkit transitions is a fantastic way to boost the production value of your content without spending a dime. Whether you prefer the drag-and-drop simplicity of .mogrt files or the advanced control of project files, the result is a more engaging video. By mastering these three methods, you ensure your Premiere Pro workflow remains fast and efficient. If you’re looking for more assets, check out this article on 6 stock asset websites.
Now that you have the tools, it is time to create. If you want to keep learning, subscribe to the YT Torials newsletter for weekly editing resources. Also, don’t forget to subscribe to the YT Torials YouTube page for step-by-step video tutorials!.
Follow YT Torials:

No responses yet